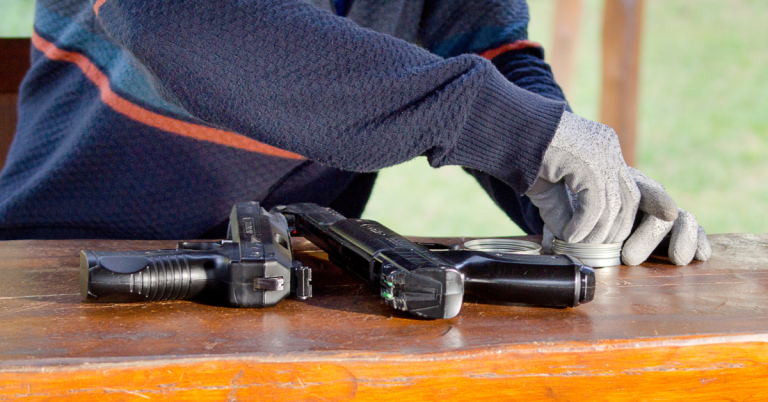
How to Sight In Your Air Pistol for Hunting
Zeroing in your air pistol is a critical step to ensure that your point of aim (POA) matches your point of impact (POI) at a specific distance. This process, known as sighting in or zeroing, is essential for accurate shooting, especially in hunting scenarios where precision is key. In this blog post, we’ll guide you through the steps to zero your air pistol’s scopes or sights, including adjustments for windage and elevation.
Understanding Windage and Elevation
Before we begin, it’s important to understand the concepts of windage and elevation:
- Windage: Refers to the horizontal adjustment of your sights to compensate for left or right deviations.
- Elevation: Involves vertical adjustments to correct high or low shot placements.
Step-by-Step Guide to Zeroing Your Air Pistol
Step 1: Safety First
Ensure your air pistol is unloaded and pointed in a safe direction before making any adjustments.
Step 2: Establish a Baseline
Set up a target at the distance you plan to hunt. This is typically between 10 to 30 yards for air pistols. Fire a group of shots to establish a baseline for your adjustments.
Step 3: Analyze Your Shot Group
Examine where your shots are hitting in relation to the bullseye. Are they consistently high, low, left, or right?
Step 4: Make Windage Adjustments
If your shots are landing to the left or right of the bullseye, adjust the windage. For most air pistols, you’ll use the dial on the side of the scope or sight. Turn it in the direction needed to bring your POI closer to your POA.
Step 5: Adjust for Elevation
If your shots are hitting high or low, you’ll need to adjust the elevation. This is usually done with a dial or turret on the top of the scope. Turn it in the necessary direction to align your POI with your POA.
Step 6: Fine-Tuning
After making your initial adjustments, fire another group of shots to see if your POI has moved closer to the bullseye. Continue making small adjustments and shooting groups until your POI matches your POA.
Step 7: Confirm Zero
Once you’ve zeroed in at your chosen distance, confirm your zero by shooting at different distances. This will help you understand how your air pistol behaves over various ranges.
Step 8: Practice
Regular practice is essential to maintain your zero and improve your shooting skills. The more familiar you are with your air pistol and its behavior, the more accurate you’ll be in the field.
Conclusion
Zeroing your air pistol is a vital step in preparing for a hunt. By taking the time to properly adjust your windage and elevation, you can ensure that your shots will land where you intend them to. Remember, patience and practice are key to mastering the art of accurate shooting with an air pistol.
FAQs
What distances are recommended for zeroing an air pistol?
While the blog post suggests 10 to 30 yards, the ideal distance for zeroing can vary based on the pistol’s intended use. For target shooting, 10 yards may be sufficient, but for hunting, you might zero at 20 or 30 yards to match typical hunting ranges.
How does ammunition type affect zeroing an air pistol?
Different pellets can have varying weights and shapes, which can influence the trajectory. It’s advisable to zero your air pistol with the same type of ammunition you plan to use regularly to ensure accuracy.
Can zeroing be affected by environmental factors like wind and temperature?
Yes, environmental conditions can impact the zeroing process. Wind can cause lateral drift, while temperature changes can affect air density and, consequently, the pellet’s flight. Always zero in conditions similar to those you’ll be shooting in.
What tools do I need for zeroing my air pistol?
Besides the air pistol and ammunition, you’ll need a stable platform for shooting, a target set at the desired distance, and possibly a small screwdriver or coin for making windage and elevation adjustments.
Is there a difference between zeroing a scope and iron sights on an air pistol?
The principles of zeroing are the same, but scopes may offer more precise adjustments for windage and elevation compared to iron sights. Additionally, scopes might have reticles that can aid in compensating for bullet drop over distance.

